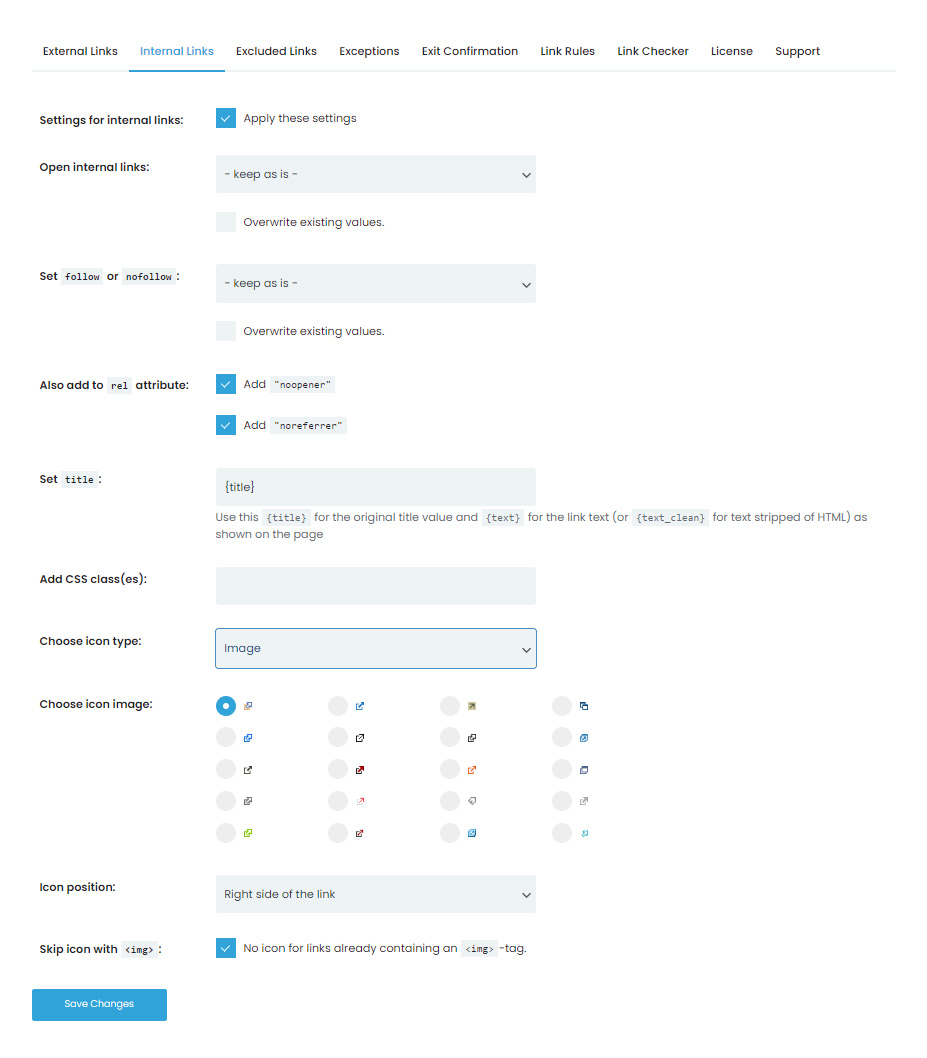
The second tab in the plugin’s settings allows you to control the internal links. If you turn on the “Settings for internal links” option, a new group of settings will appear below.
Once saved, the plugin will take over the control of your internal links based on the settings you’ve selected.
Open Internal Links
Choose the way your internal links will behave. You can open them:
- in the same window/tab/frame,
- each in a new window (for example, if you click on three links, you would end up having three new windows or tabs),
- all in the same window (the first link will open in a new window/tab, but if you click on the second link, it would load over the first one instead of opening the second window/tab),
- in the topmost frame (a new link would always load in the same, topmost frame available on the page).
Set follow or nofollow
All internal links (those not linking to your own site) would get the chosen attribute.
Also add to rel attribute
- Add “noopener” – prevents potentially malicious code to take control of your site,
- Add “noreferrer” – do not send refer information to the linked site.
Set title
Use this {title} for the original title value and {text} for the link text (or {text_clean} for text stripped of HTML) as shown on the page.
Add CSS class(es)
If you would like to add specific CSS classes to your internal links, you can do that here.
Choose icon type
Want an icon displayed next to outgoing links? Just select one here and save settings.
- Image – select an image and upload it from your computer,
- Dashicon – choose one of the WordPress icons,
- Fontawesome – choose one of the Fontawesome icons.
Icon position
If you decide to use the icon, you can set it left or right of the internal link.
Skip icon with <img>
When using icons for your internal links, all your links will automatically get an icon. If you link an image to an internal source, the image will also get the selected icon. You can turn on this option to skip adding icons to images in that case.

