Ntoskrnl.exe errors are common on Windows 10 and Windows 11. This file is the Windows kernel, and it controls memory, drivers, and system processes. When something goes wrong with drivers, RAM, storage, or system files, Windows can crash and blame ntoskrnl.exe.
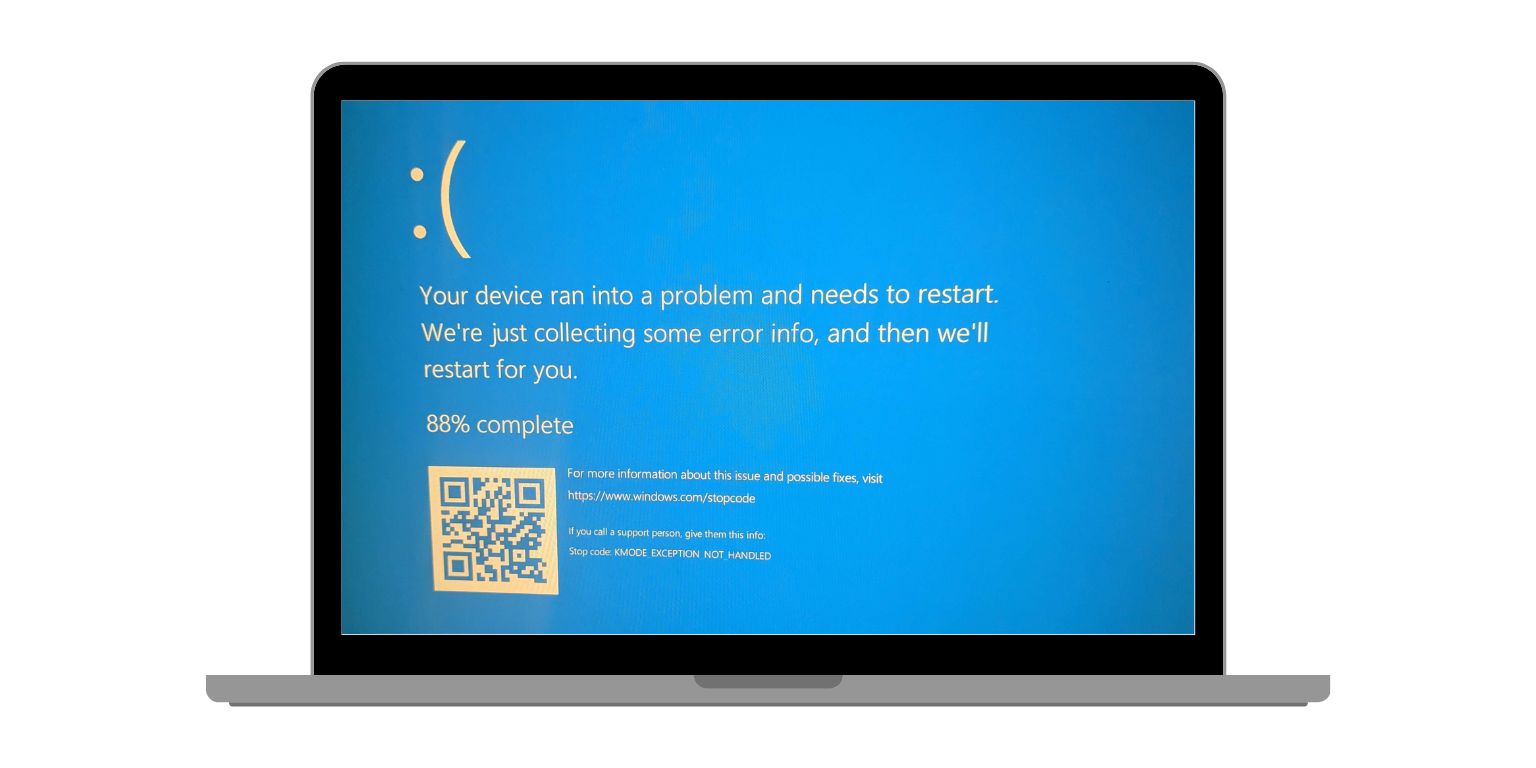
These crashes show up as BSOD messages like MEMORY MANAGEMENT, CRITICAL PROCESS DIED, or SYSTEM SERVICE EXCEPTION. Sometimes ntoskrnl.exe uses high CPU in Task Manager and slows everything down.
This guide explains what the file does and gives you clear steps to fix the problem.
What is Ntoskrnl.exe?
 Ntoskrnl.exe is the core of Windows. It handles memory management, CPU scheduling, the boot process, and communication with hardware drivers. Without it, Windows cannot run. The real ntoskrnl.exe file is safe and always stored in the System32 folder.
It rarely fails on its own. Something else, like bad RAM or a broken driver, triggers the error.
Why Ntoskrnl.exe Errors Appear?
Here are the most common reasons Windows reports ntoskrnl.exe errors:
- Corrupted or outdated drivers
- Faulty RAM
- A failing SSD or HDD
- Overheating
- System file corruption
- Malware pretending to be a system file
- Wrong overclock settings
- Windows update issues
- Damaged registry entries
When any of these fail, the kernel crashes and shows a BSOD.
How to Fix Ntoskrnl.exe Errors
If you are facing this issue, follow the steps below one by one. These steps help you repair crashes, BSOD, and high CPU use.
1. Check If It’s a Real Ntoskrnl.exe or Malware
The real ntoskrnl.exe sits in the System32 folder and is signed by Microsoft. Some malware tries to fake this name to avoid detection. If the file is not in the correct location, Windows becomes unstable and may show BSOD errors linked to the kernel.
Steps to verify the file:
- Open Task Manager
- Right click ntoskrnl.exe
- Select Open file location
- Confirm the path is C:\Windows\System32
- Right click the file and check the Digital Signatures tab
If the signature shows Microsoft, the file is safe. If it looks odd, scan your PC with Windows Defender. A fake file can cause random crashes and system instability.
2. Update Your Drivers
Bad drivers are one of the top causes of ntoskrnl.exe BSOD errors. The kernel depends on drivers for communication with hardware. When a driver has bugs, wrong settings, or crashes, it pulls the kernel down with it.
Important drivers to update:
- GPU drivers from NVIDIA, AMD, or Intel
- Chipset drivers from Intel or AMD
- Network drivers
- Storage controller drivers
- Laptop drivers from Dell, HP, Lenovo, MSI, or ASUS
Updated drivers stop the kernel from loading corrupted or outdated modules that trigger BSOD errors like SYSTEM SERVICE EXCEPTION or DRIVER POWER STATE FAILURE.
3. Run SFC and DISM to Repair System Files
Corrupt system files break the communication between the kernel and the rest of Windows. This leads to crashes, high CPU use, or missing components.
Run SFC:
sfc /scannow
Run DISM:
DISM /Online /Cleanup-Image /RestoreHealth
SFC repairs missing files. DISM repairs the Windows image. Both tools together fix the core system files that the kernel uses during boot and runtime.
4. Check Storage With CHKDSK
A failing SSD or HDD can corrupt files that ntoskrnl.exe depends on. When the kernel tries to load these damaged files, Windows crashes.
Run:
chkdsk /f /r
This scan looks for bad sectors and repairs file system problems. If your disk has slow sectors or read errors, CHKDSK reveals them. A failing drive often causes repeating BSOD errors.
5. Check RAM and Memory Problems
Bad RAM is one of the biggest causes of kernel failures. Ntoskrnl.exe handles memory management. If a memory stick sends bad data, it crashes the kernel.
Use Windows Memory Diagnostic:
- Press Windows key
- Search Windows Memory Diagnostic
- Choose Restart now and check for problems
If errors appear, replace the faulty RAM stick or test one stick at a time. Memory issues cause common BSOD codes like MEMORY MANAGEMENT or IRQL NOT LESS OR EQUAL.
6. Remove Bad Driver Updates
Sometimes Windows installs unstable drivers, especially GPU or network drivers. If your system started crashing after an update, roll it back.
Steps:
- Open Device Manager
- Right-click the driver
- Select Properties
- Choose Roll Back Driver
Removing a broken update often stops random kernel crashes.
7. Turn Off Overclocking
Overclocked CPUs, GPUs, or RAM can cause unstable voltage and timing. Ntoskrnl.exe crashes when timing errors exceed a threshold.
Reset BIOS to factory defaults if you changed:
- CPU multiplier
- RAM XMP profiles
- GPU overclock values
- Voltage settings
Stability is more important than a small performance boost.
8. Install Windows Updates
Microsoft releases patches that fix kernel bugs, driver conflicts, and memory issues. Keeping Windows 10 or Windows 11 updated prevents many ntoskrnl.exe errors.
Updates also install new drivers that improve hardware stability.
9. Fix High CPU or Memory Usage
If ntoskrnl.exe shows high CPU in Task Manager, it means another process is stressing the kernel. Fixing this improves system performance.
Try these steps:
- Remove heavy startup programs
- Disable third party antivirus that scans nonstop
- Check for overheating
- Update chipset and storage drivers
- Reset virtual memory settings
These steps reduce the load on the kernel and keep Windows stable.
10. Repair a Failing SSD or HDD
If your SSD or HDD is worn out, ntoskrnl.exe loads corrupted files during startup. This leads to frequent BSODs. Tools from Samsung, Western Digital, or Crucial can check the SSD’s health. If the tool reports warnings, replace the drive.
A healthy drive is critical for kernel stability.
Conclusion
Ntoskrnl.exe errors look complex, but the root cause is usually simple: bad drivers, bad RAM, corrupted files, or a failing drive. By following the steps above, most systems can be repaired without reinstalling Windows.
If a certain fix solved your issue, share it with others so they can repair their system too.
