So, you’ve got your hands on a shiny new Windows 11 installer and you’re ready to dive in. But here’s the catch — Microsoft really wants you to use a Microsoft account. What if you don’t want to? Good news: there’s a way around it!
TL;DR
You can still install and use Windows 11 without signing into a Microsoft account. It just takes a few extra clicks (and maybe a skipped Wi-Fi connection). We’ll show you exactly how to do it in a quick and simple way. No tech wizardry needed!
Why avoid a Microsoft account?
Well, some people just like their privacy. Others don’t want another password to remember. And a few folks want a local-only setup for better speed and control. Whatever your reason, it’s totally valid.
What you’ll need first
- A computer that meets Windows 11 system requirements
- A bootable Windows 11 USB or DVD (use the Media Creation Tool)
- Maybe a little patience (but we’ll make it easy!)
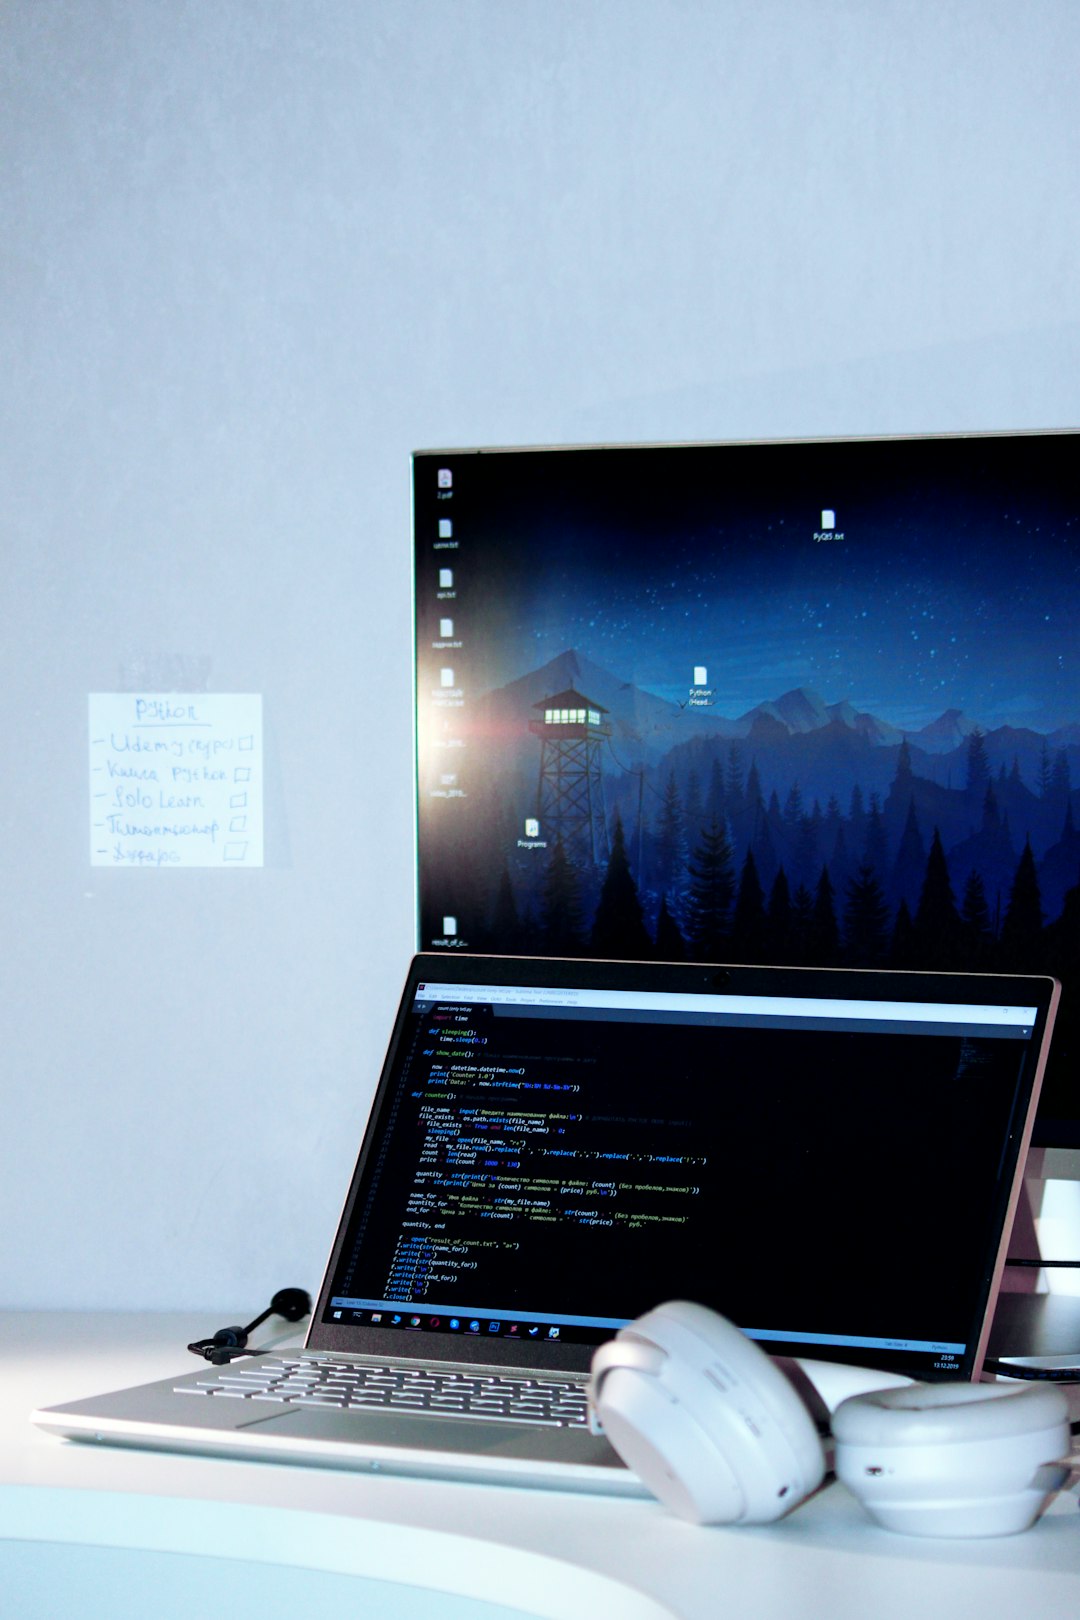
Step 1: Start the installation
Insert your Windows 11 USB/DVD and boot from it. You’ll see the setup screen soon enough.
Choose your language, time format, and keyboard layout. Then click Next and hit Install now.
If you’re asked for a product key, you can either enter it or click “I don’t have a product key” to continue.
Choose the version of Windows 11 you want. Most people go with Windows 11 Home or Pro. Then hit Next.

Accept the license terms (those long ones we all skim), and then pick “Custom: Install Windows only”.
Now select the drive you want to install Windows on. If it’s a blank drive, just choose it and click Next.
Step 2: Let Windows do its thing
Your screen will flicker, restart, and show a few loading animations. Hang tight — the magic is happening.
Step 3: Do NOT connect to the internet yet
This is where the real trick happens. Once Windows restarts, it starts asking you the usual questions.
- Choose your country and keyboard again.
- Skip any Wi-Fi setup or disconnect your Ethernet cable.
If you’re not connected, Windows assumes you don’t have internet and will show a screen with an option to “Continue with limited setup.”
Click that magic option!
Step 4: Create a local account
Now it’s time to set up your user profile with a local account — no cloud, no fuss.
- Enter your name (this can be anything!).
- Pick a password if you want – or leave it empty.
Windows will offer more setup steps like security questions, privacy settings, etc. Just click through and adjust to your liking.
But wait! What if Windows won’t let you skip?
In some newer versions or special builds (especially Home editions), Microsoft might hide the “Continue with limited setup” button. Sneaky!
Here’s how to outsmart it:
Option 1: Use a fake email
On the “Sign in with Microsoft” screen, try entering a fake email like no@thankyou.com. Then type random text for the password. It will fail, but sometimes Windows gives up and lets you create a local account.
Option 2: Use Shift + F10 for Command Prompt
This one’s for when you really need to take control.
- Press Shift + F10 on your keyboard when you see the network/Sign-In screen.
- Command Prompt will open (like magic!).
- Type the following:
OOBE\BYPASSNROand hit Enter.
Your system will reboot and magically give you new options, including skipping the network part.
Enjoy your new local-only Windows 11!
You can now enjoy Windows 11 just like the good old days — no Microsoft login, no cloud sync, just your computer your way.
Everything still works: apps, updates, even the Microsoft Store (once you reconnect to the internet, if you want). Just without tying everything to a Microsoft email.
Reasons to go local
- Privacy: Your data stays on your PC.
- Speed: Fewer background sync tasks.
- Control: No mandatory account linkups.
- Simplicity: Easier setup, fewer credentials to manage.
Optional: Turn off annoying stuff
After setup, go to Settings > Privacy & security to turn off telemetry, tracking, and unwanted features.
You can also disable Cortana, location tracking, and background apps if you want pure performance.
Troubleshooting tips
If something goes wrong along the way, here are a few things to try:
- No “continue without internet” option? Try the Command Prompt trick.
- Looping restarts during setup? Create a new installer from Microsoft’s website using the Media Creation Tool.
- Wi-Fi auto-connects? Click “Forget network” quickly if it logs in during setup.
Bonus tip: You can switch later
If you ever decide you want to link your Microsoft account after setting things up, you can! Just go to:
Settings > Accounts > Your info and click “Sign in with a Microsoft account instead.”
It’s totally reversible.
Final thoughts
You don’t have to follow the crowd. Windows 11 works great with or without a Microsoft account.
Whether it’s privacy, simplicity, or just personal preference — you’re in full control now.
So go ahead, enjoy your local account freedom!
