
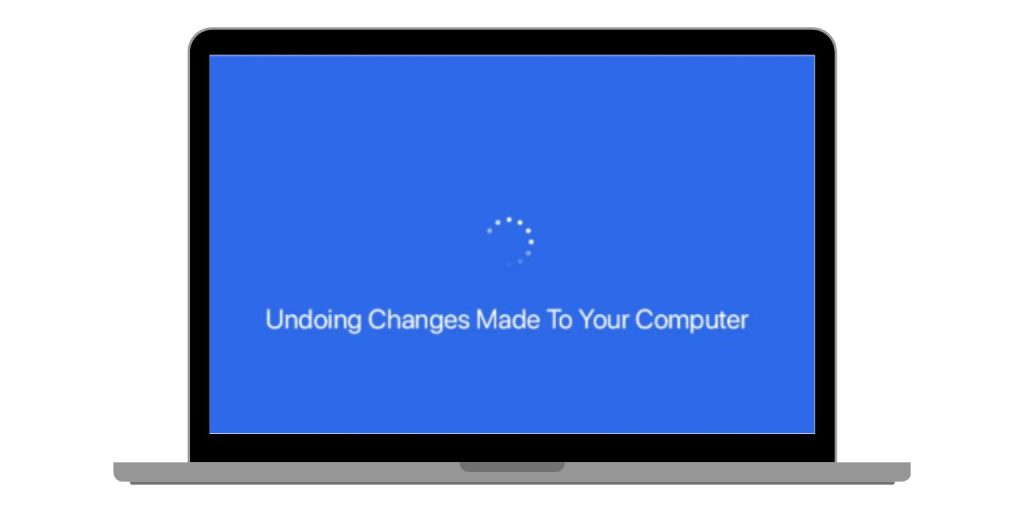
Seeing the message “Undoing changes made to your computer” on a Windows screen can be frustrating, especially when your PC keeps restarting without finishing updates. This problem usually happens after a failed update or interrupted system change. It affects both Windows 10 and Windows 11 users.
In this guide, you’ll learn why this message appears and how to fix it step by step.
Why You See “Undoing Changes Made to Your Computer”
 This error typically shows up after your system tries to install a Windows Update but fails. The system then tries to reverse the changes automatically.
Common causes include:
- Power loss during an update
- Corrupted update files
- Incompatible drivers or programs
- Low disk space
- Forced shutdowns during installation
If the system can’t complete or undo the changes, you may get stuck in a restart loop.
How to Fix Undoing Changes Made to Your Computer on Windows
Before doing anything advanced, try a hard shutdown and restart.
Steps:
- Hold the power button for 10 seconds until your PC shuts off.
- Wait a few seconds and press the power button again.
- Let it try to boot. Sometimes, the error clears on its own.
If the message appears again, continue with the next method.
1. Access Safe Mode
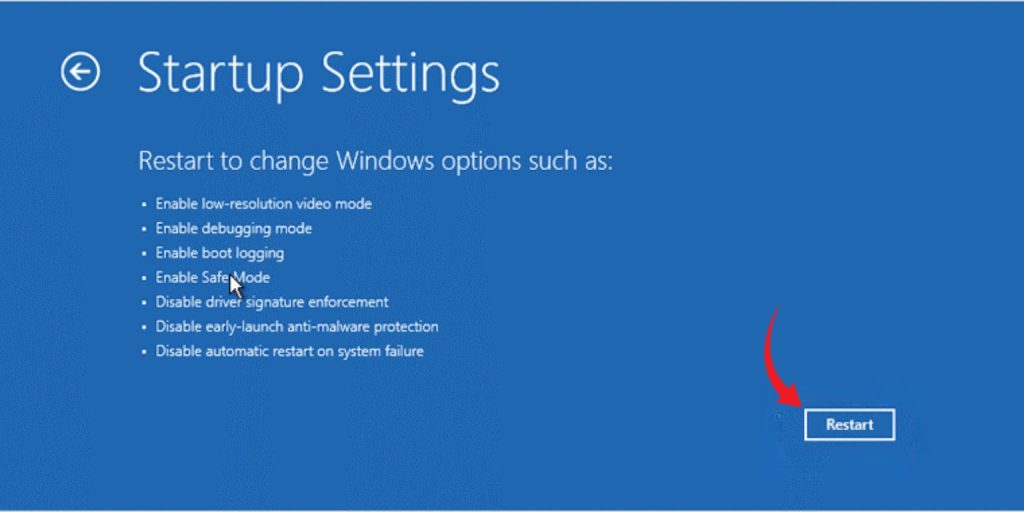 Safe Mode helps you load Windows with only essential drivers and services. This makes it easier to troubleshoot.
To enter Safe Mode:
- If you’re stuck in a loop:
- Force shutdown 2–3 times in a row while Windows loads.
- Windows will enter Recovery Mode.
- Go to Advanced options > Startup Settings > Restart.
- Press 4 or F4 to boot into Safe Mode.
- If you can reach the login screen:
- Hold Shift and click Restart.
- Follow the steps above to access Safe Mode.
Once in Safe Mode, you can uninstall updates, run scans, or repair system files.
2. Run Startup Repair
Startup Repair is a built-in Windows tool that fixes boot-related issues.
To use it:
- From Recovery Mode, go to Troubleshoot > Advanced Options > Startup Repair.
- Select your account and enter your password if needed.
- Let the tool check and repair startup problems.
If the repair fails, move to manual solutions below.
3. Uninstall Problematic Updates
If a recent update is causing the issue, removing it may solve the problem. In Safe Mode, press the Windows key and type Control Panel, then open it. Navigate to Programs, then click View installed updates. From there, look for the most recent updates under the Microsoft Windows section. You can sort by date to find the latest one. Select the update and click Uninstall.
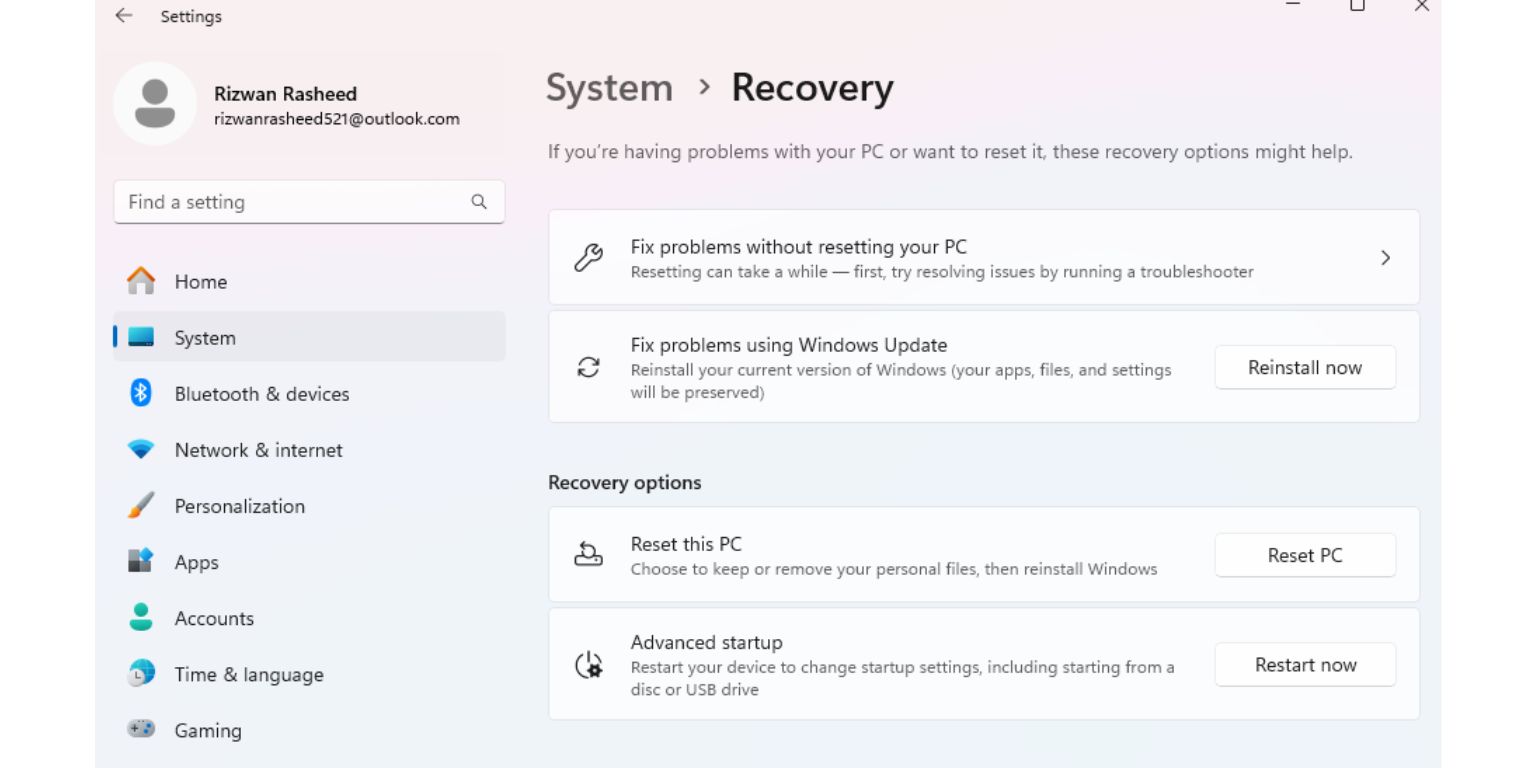
Alternatively, go to Settings, then select Update & Security, click Windows Update, and choose View update history. Then click Uninstall updates at the top to access the same panel. After uninstalling the suspected update, restart your PC normally.
4. Clear the Windows Update Cache
Corrupted update files in the cache can cause loops and errors. You can remove them safely.
Steps (in Safe Mode):
- Open Command Prompt as Administrator
- Type these commands one by one:net stop wuauserv
net stop bits
rd /s /q C:\Windows\SoftwareDistribution
net start wuauserv
net start bits
- Close the window and restart your PC.
This will delete old update files and allow a fresh start.
5. Use System Restore
 System Restore brings your PC back to a previous state without affecting your files.
How to use it:
- Boot into Recovery Mode
- Go to Advanced Options > System Restore
- Select a restore point dated before the update issue
- Follow the steps and restart
System Restore won’t work if you didn’t enable it before the issue happened.
6. Reinstall Windows (Last Resort)
If nothing works, reinstalling Windows might be necessary.
How to reinstall:
- Use another computer to download the Windows Media Creation Tool
- Create a bootable USB drive
- Insert it into your PC and boot from USB
- Choose “Repair your computer” or “Reset this PC”
- You can keep your files or erase everything for a clean install
This process will take longer but ensures a fresh, working system.
Prevent the Error in the Future
You can lower the risk of this issue by following a few habits:
- Always back up your files before major updates
- Avoid turning off the PC while updates install
- Keep at least 20% of your drive free
- Use the Windows Update Troubleshooter occasionally
- Disable Fast Startup if it causes boot issues
If this guide helped fix your system, feel free to share it. You can also comment on which method worked for you so others can try it too.
