It’s easy to lose track of photos on a Windows PC. Images can be scattered across the Pictures folder, Desktop, Downloads, cloud storage, or external drives. Sometimes they’re buried under random file names, and finding them becomes frustrating. The good news is Windows offers several built-in tools to help you track down every photo stored on your computer.
Method 1: Check the Default Photo Folders
 Windows automatically saves pictures to a few common locations. If you’ve taken screenshots, downloaded images, or transferred photos from your phone, they’ll usually be in these folders.
The most common default folders include:
- Pictures – the main folder where apps and cameras save images.
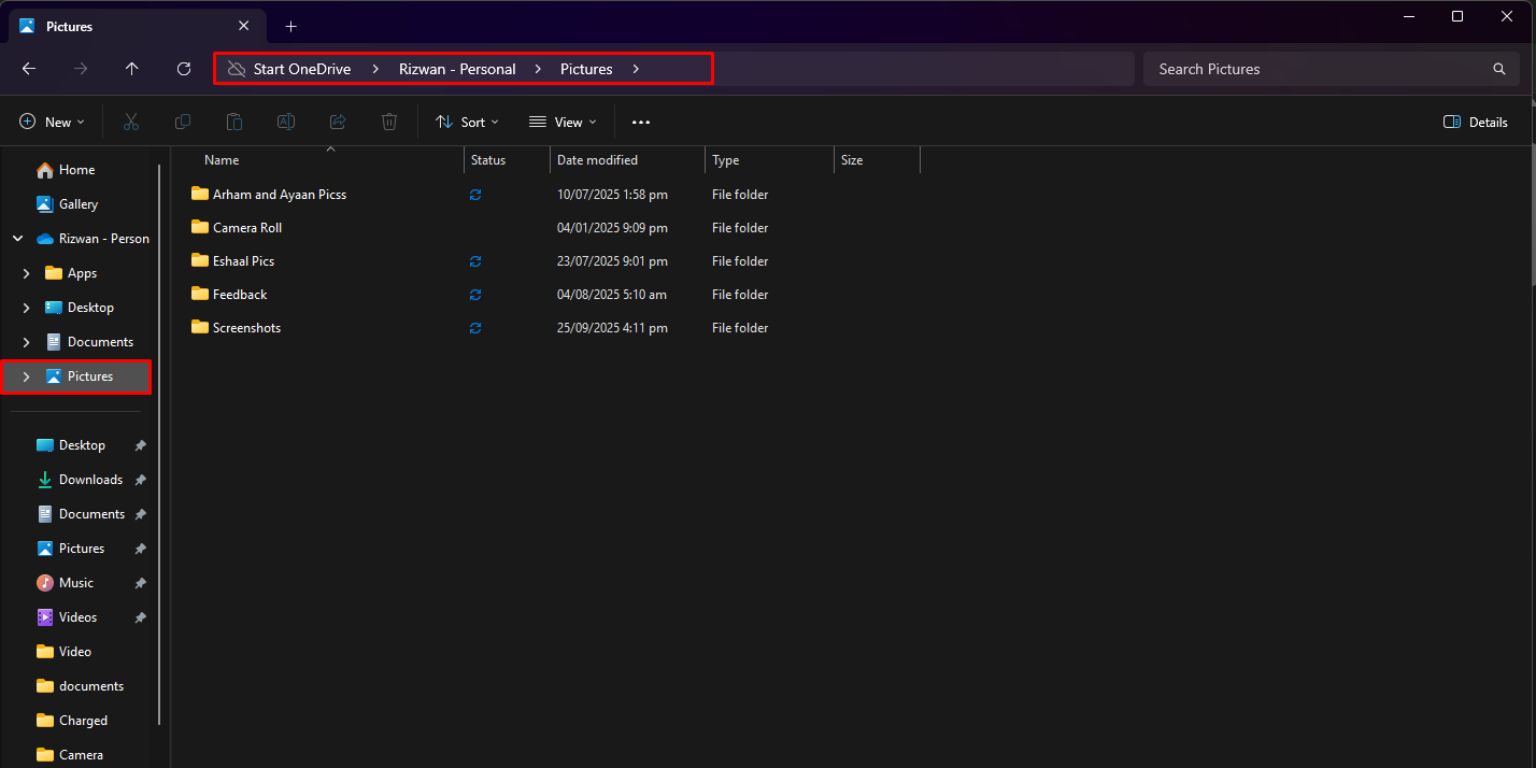
- Screenshots – inside the Pictures folder or created under a separate Screenshots folder.
- Downloads – photos from email, web browsers, or apps.
- Desktop – quick saves or drag-and-drop images.
- Camera Roll – created when using the Windows Camera app.
Checking these folders first often recovers most of your photos quickly.
Method 2: Use File Explorer Search
If you don’t know where photos are saved, File Explorer’s search tool is powerful. Here’s how to use it:
- Open File Explorer from the Start menu or taskbar.
- Click This PC to search across your whole computer.
- Type “.jpg” or “.png” into the search bar to find standard photo formats.
- Press Enter and wait while Windows scans all folders.
- Sort results by Date Modified or Date Taken to find recent images.
You can repeat the search with different file types, like .heic or .bmp, if needed.
Method 3: Browse Photos in the Windows Photos App
 The Windows Photos app is another way to see all your images in one place. Once opened, it automatically collects pictures from your Pictures folder, Desktop, OneDrive, and other linked folders.
The app displays photos by date and lets you scroll through your collection like a gallery. You can also use the built-in search bar to filter by keywords, file names, or even content recognition, such as “dog” or “beach.” For many users, this is the easiest way to review every image at once.
Method 4: Search by File Type and Date
Photos are saved in different file formats depending on the source. To catch them all, search for multiple extensions:
- .jpg / .jpeg – the most common photo format.
- .png – often used for screenshots and web downloads.
- .heic – high-efficiency format from iPhones.
- .bmp – older Windows bitmap format.
- .gif – small images, memes, or animations.
File Explorer also allows filtering results by date taken or date modified, making it easier to find recent images or old archives.
Method 5: Check Cloud Sync Folders
Many Windows PCs are connected to cloud services that save photos outside the default folders. If you use OneDrive, Google Drive, or Dropbox, photos may be stored there.
Look for these folders in File Explorer:
- OneDrive > Pictures
- Google Drive > My Drive > Photos
- Dropbox > Camera Uploads
These services also keep deleted files in cloud recycle bins for a limited time, which can help if something was recently removed.
Method 6: Don’t Forget External Drives and USBs
Old pictures often end up on external hard drives, USB sticks, or SD cards. If you’ve transferred files from a phone or camera in the past, plug those devices back in and run a File Explorer search.
Many people also back up photos to portable drives without realizing they’ve duplicated folders. Searching external devices ensures you don’t miss hidden collections.
Method 7: Recovering Lost or Deleted Photos
If photos seem to be missing, there are ways to recover them:
- Recycle Bin – deleted photos often stay here until emptied.
- File History – restores older versions of files if backup was enabled.
- OneDrive or Google Drive Trash – cloud services store deleted files temporarily.
- Third-party recovery software – useful if files were deleted from drives without backup.
- System Restore points – occasionally restore folders containing old photos.
Act quickly because deleted files are harder to recover the longer you wait.
How to Organize Your Photos Once You Find Them
After finding your photos, organizing them will save headaches in the future. Creating a structured folder system makes browsing much faster.
Some helpful steps include:
- Create folders by year or event (e.g., “2025 – Vacation” or “Work Project Photos”).
- Move scattered images into the Pictures folder as your central location.
- Use Quick Access in File Explorer to pin your most-used photo folders.
- Tag photos in the Photos app for easier searching later.
- Regularly back up to an external drive or cloud to avoid losing them again.
Taking 30 minutes to organize now can save hours the next time you need to find images.
Conclusion
Finding all your photos on a Windows PC doesn’t have to be difficult. Start with the default folders, then expand your search using File Explorer and the Photos app. Don’t forget about cloud sync folders or old USB drives, and always check the Recycle Bin for recently deleted files. Once you gather your photos, organize them into clear folders and set up regular backups. With these steps, your images will always be just a few clicks away.


