NVIDIA Control Panel allows users to adjust their display resolution, but sometimes the option to change the resolution is grayed out, missing, or won’t save changes. This issue can be caused by driver conflicts, Windows settings overriding NVIDIA settings, or incorrect monitor configurations.
This guide explains why the NVIDIA Control Panel prevents resolution changes and provides step-by-step solutions to fix it.
Why the NVIDIA Control Panel Won’t Let You Change Resolution
NVIDIA Control Panel may stop you from changing resolution for several reasons.
- Outdated or corrupted NVIDIA drivers can prevent resolution settings from working correctly.
- Windows display settings may override NVIDIA settings, preventing users from selecting specific resolutions.
- The monitor may be incorrectly detected, causing the system to restrict resolution changes.
- HDMI or DisplayPort connection issues can limit available resolutions.
- Third-party software, like GeForce Experience or Windows HDR settings, may interfere with resolution settings.
If you can’t change the resolution in the NVIDIA Control Panel, follow the solutions below to restore full control.
How to Fix the Issue of NVIDIA Control Panel Not Allowing You to Change the Resolution
If you’re having trouble changing the screen resolution in the NVIDIA Control Panel, follow these steps to resolve the issue.
1. Update or Reinstall NVIDIA Drivers
 If the NVIDIA Control Panel is not allowing resolution changes, updating or reinstalling the graphics driver may help.
- Open Device Manager by pressing
Win + Xand selecting Device Manager. - Expand Display Adapters, right-click NVIDIA GPU, and choose Update Driver.
- Select Search automatically for drivers and follow the instructions.
- If the issue persists, download the latest driver from NVIDIA’s official website and install it manually.
- Restart your PC and check if resolution settings are now available.
2. Check for Windows Display Conflicts
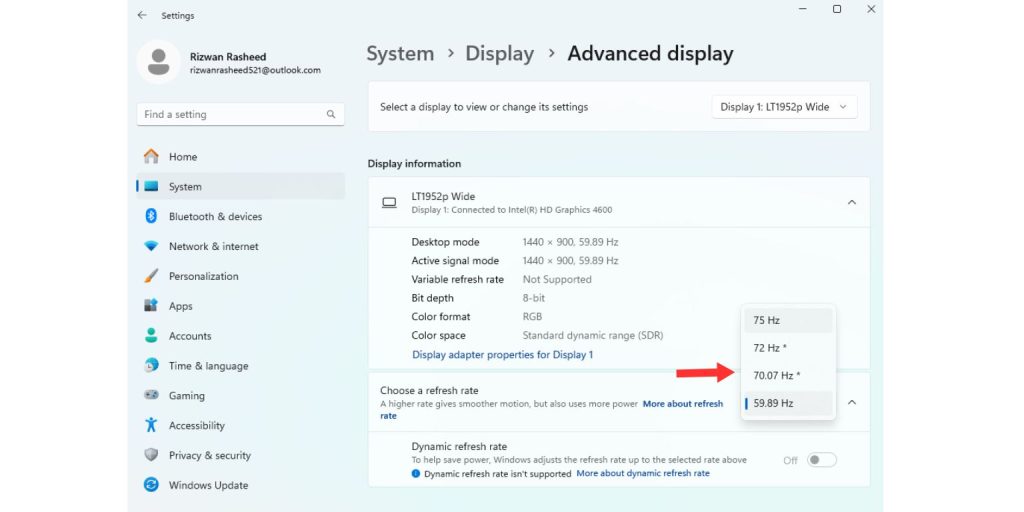 Windows display settings may override the NVIDIA Control Panel, limiting the resolution options.
- Press
Win + ITo open Settings, go to System > Display. - Under Display Resolution, check if the correct resolution is selected.
- If Windows limits your resolution, try changing the Refresh Rate under Advanced Display Settings.
- If multiple monitors are connected, ensure that the correct display is selected.
Sometimes, Windows forces a lower resolution due to driver issues or incorrect scaling settings. Adjusting these options may restore resolution control.
3. Run NVIDIA Control Panel as Administrator
If resolution settings reset after closing the NVIDIA Control Panel, running it as an administrator may fix the issue.
- Right-click NVIDIA Control Panel and select Run as Administrator.
- Apply your resolution settings and check if they save correctly.
4. Restart the Display Driver to Apply Changes
Sometimes, the display driver must be restarted to apply new resolution settings.
- Press
Win + Ctrl + Shift + Bto restart the display driver. - The screen will flash briefly, then return to normal.
- Open the NVIDIA Control Panel and try changing the resolution again.
If resolution settings still don’t save, check for third-party software conflicts, such as GeForce Experience or game-related settings that might override the NVIDIA Control Panel.
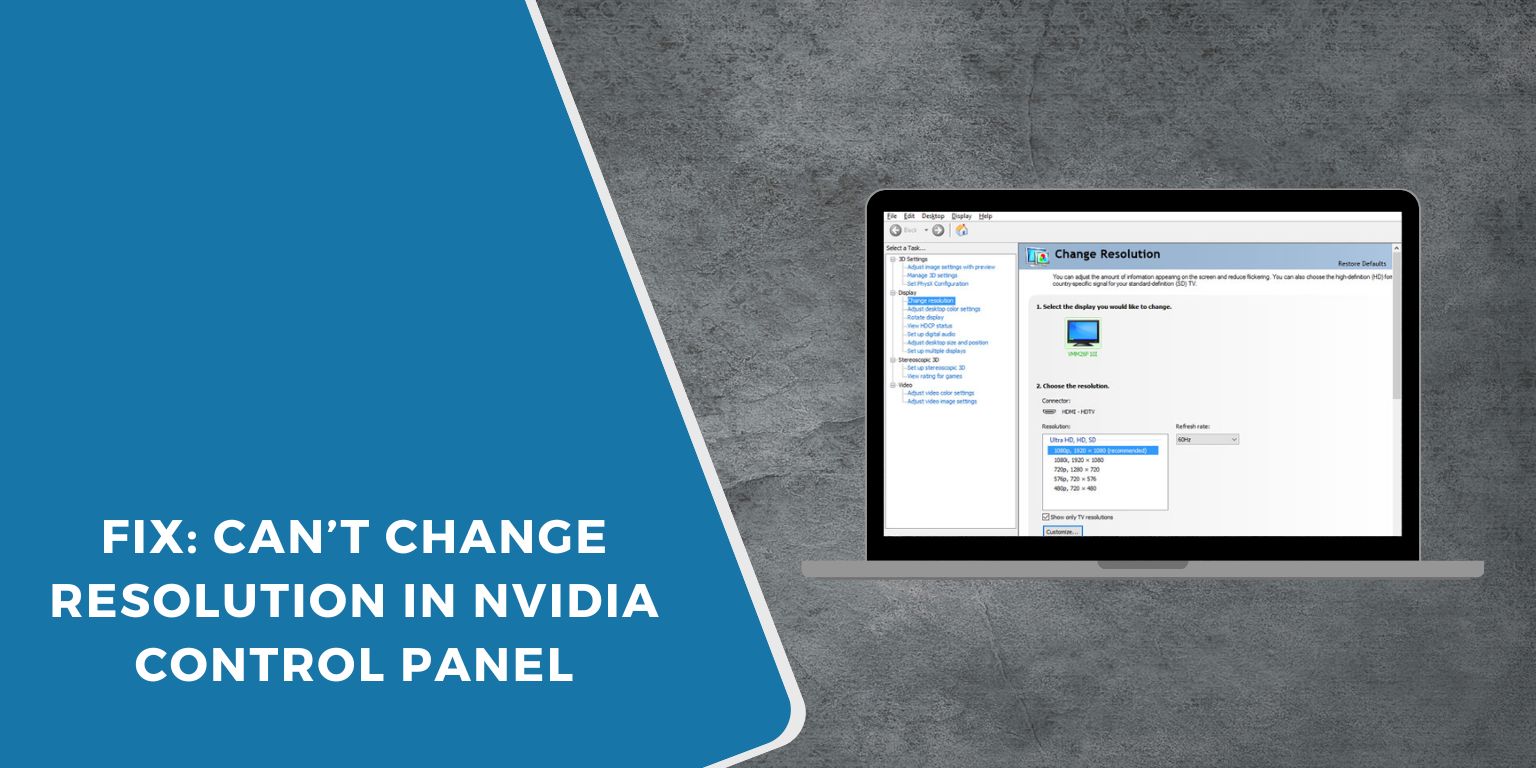
How to Add Custom Resolutions in the NVIDIA Control Panel
If the desired resolution is not available, custom resolutions can be added manually.
- Open the NVIDIA Control Panel and go to Display > Change Resolution.
- Click Customize, then select Create Custom Resolution.
- Enter the desired resolution and refresh rate, then click Test.
- If the custom resolution works, apply the changes.
If custom resolutions do not apply, check if GPU scaling is enabled and your monitor supports the selected resolution.
Fixing Low Resolution or Blurry Display Issues
 Ensure the correct refresh rate is selected in NVIDIA Control Panel > Change Resolution.
- Check monitor and cable compatibility—some monitors have limited resolution options when connected via HDMI instead of DisplayPort.
- Disable Windows scaling settings under Settings > Display > Scale and Layout, which can cause blurry text and icons.
Conclusion
If the NVIDIA Control Panel prevents resolution changes, the issue is usually caused by driver conflicts, Windows settings, or incorrect monitor detection. Updating drivers, checking display settings, and enabling custom resolutions can restore resolution control.
If none of the solutions work, consider using Display Driver Uninstaller (DDU) to perform a clean driver reinstall.
Have you faced resolution issues with the NVIDIA Control Panel? Share your experience in the comments!
