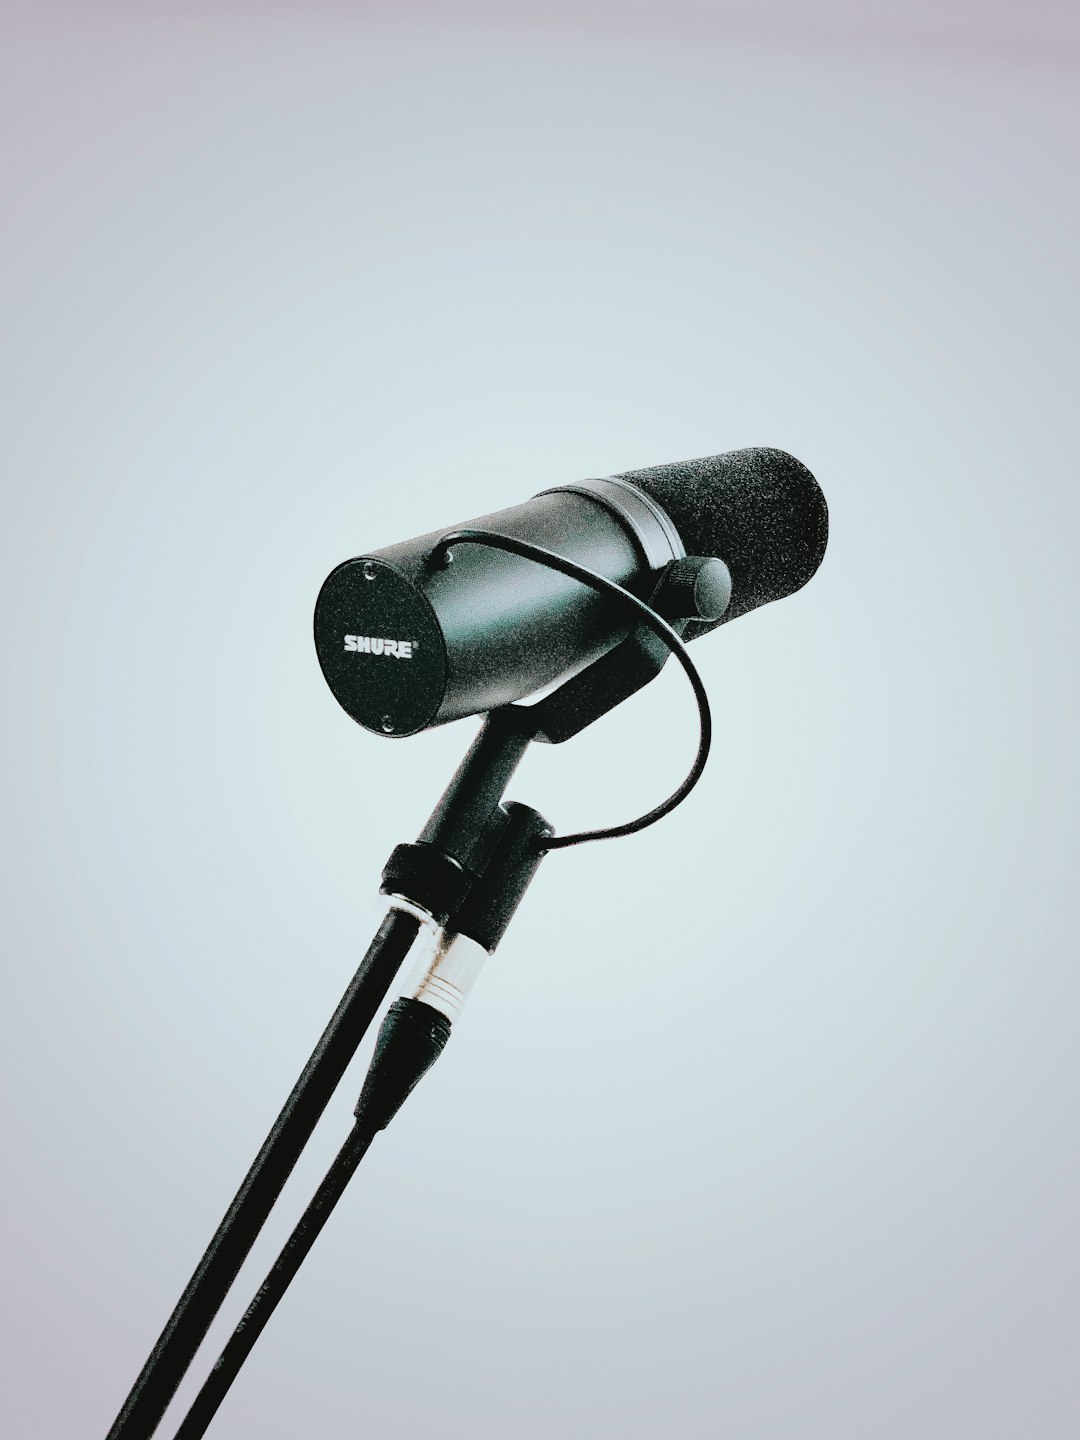
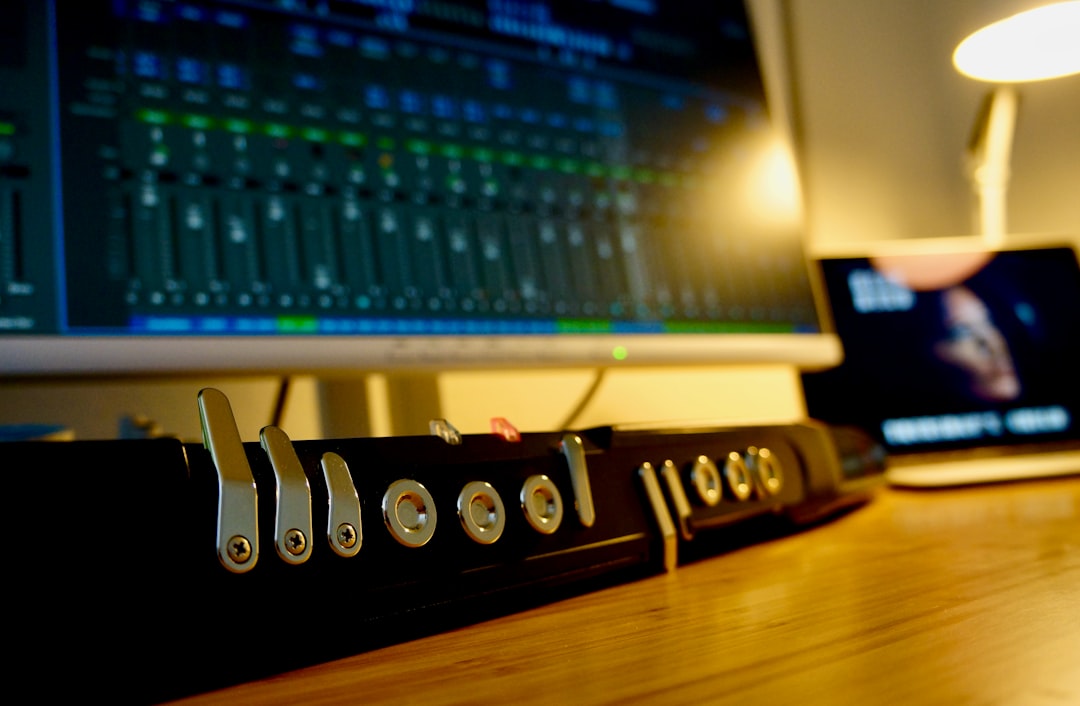
Audio mastering is one of the most critical phases in audio production, often transforming a good track into a professional masterpiece. Steinberg’s WaveLab stands out as a powerful, feature-rich tool designed specifically for mastering audio recordings with precision and control. Whether you’re a musician, podcaster, producer, or sound engineer, mastering in WaveLab can dramatically elevate your sound—if you know how to use it properly.
TL;DR
If you’re looking to quickly master your audio in WaveLab, you need to understand its streamlined interface, use templates, and familiarize yourself with essential tools like spectral editing and metering. Start by importing your audio, apply batch processing and effects chains, then perform A/B comparisons to finalize your sound. Use built-in analysis tools to ensure loudness compliance and prevent distortion. With focused practice, WaveLab can make your mastering workflow faster and more precise.
Why Choose WaveLab for Mastering?
WaveLab is designed with mastering engineers in mind. Unlike DAWs that focus on composition and mixing, WaveLab is specialized for analyzing, editing, and exporting polished master files. Here’s why professionals consider it a top choice:
- High-resolution metering tools offer precise control over dynamic range and loudness compliance.
- Surgical spectral editing allows you to fix audio issues without affecting the overall mix.
- Batch processing saves time when mastering multiple tracks or albums.
- Robust file management and versioning features help keep your workflow organized.
Step 1: Get Comfortable with the Interface
WaveLab’s interface is customizable but can feel overwhelming at first. It includes panes like the master section, file browser, analysis meters, and waveform displays. Spend time rearranging and labeling windows so they make workflow sense to you. Save your layout as a preset to speed up future sessions.
Use the Ribbon Tab at the top to access all main tools. Tabs are grouped into categories such as File, Edit, Process, and Analysis. Hovering over features provides tooltips—don’t overlook this, as it’s a great way to learn functions quickly.
Step 2: Import and Organize Your Audio
The first task in any mastering session is importing your audio files. Use the File tab or simply drag and drop files into the workspace. WaveLab supports stereo, mono, surround, and even multichannel formats.
Create folders within the File Browser pane to keep versions organized. Use meaningful file names to ensure you can track the mastering progress and easily identify which is which.
WaveLab also supports non-destructive editing, which is essential during mastering. You can always revert to the original audio, regardless of how many edits or effects you apply.
Step 3: Use Master Section Presets and FX Chains
This is where the magic happens. The Master Section in WaveLab is your main tool for applying EQ, compression, limiting, and more. Instead of starting each session from scratch, use or create FX chain presets tailored for different genres or recording qualities.
Typical FX chain for pop music mastering:
- High-pass filter to remove subsonic frequencies
- Multiband compressor for dynamic control
- Linear phase EQ for spectral balance
- Stereo widener (if needed)
- Brickwall limiter to finalize loudness
WaveLab’s mastering tools also include plugins from Steinberg’s suite, but it supports VST3 plugins as well—so you can incorporate your favorite third-party tools.
Step 4: Utilize Analytical Tools
WaveLab gives you deep insight into your audio. Use the Loudness Meter to confirm you’re hitting broadcast or streaming loudness standards, such as -14 LUFS for Spotify or -23 LUFS for broadcast.
Other key meters include:
- Spectrum analyzer to visualize frequency balance
- Phase scope to monitor stereo compatibility
- WaveScope and Level Meter for dynamic and peak monitoring
Spend time learning what each meter tells you—it will drastically improve your decision-making during mastering.
Step 5: Use Reference Tracks and A/B Comparison
A powerful feature in WaveLab is its ability to load reference tracks for comparison. Load a professionally mastered song in a similar genre and use the A/B switching tool to toggle between your mix and the reference.
Listen for tonal balance, width, loudness, and overall cleanliness. WaveLab makes it easy to match the output characteristics of your master to the reference file without guesswork.

Step 6: Automate and Speed Up with Batch Processing
If you’re working with an EP or album, you can save hours by using WaveLab’s Batch Processor. This tool lets you apply the same effect chain, normalize audio, convert file formats, and tag metadata in one streamlined step.
Create a Batch Processor script by:
- Loading all the tracks
- Adding modules like Normalize, Dithering, Render
- Selecting a preset FX chain or editing it on the fly
Hit “Run” and WaveLab will handle everything else. You can even set it to email you when the batch job is done.
Step 7: Perfect Your Output Settings
Once you’re happy with the mastered sound, fine-tune your output. In the Render dialog box, choose your sample rate, bit depth, and dithering options. Always apply dithering if you’re reducing bit depth to avoid quantization noise.
WaveLab can render different file formats simultaneously, which is handy when you need a 24-bit WAV for distribution and a 320kbps MP3 for demos.
Step 8: Final Quality Checks
Before publishing your final master, go through a checklist:
- Listen in mono to check phase coherence.
- Verify loudness metrics in the Loudness Meter.
- Scan for clipping or distortion with the Error Detection tool.
- Use Spectral Comparison to reveal hidden artifacts.
After confirming all metrics and using your ears for any final tweaks, you can confidently render the final master file.
Advanced: Scripting and Custom Shortcuts
For those looking to shave seconds off every task, WaveLab’s scripting and shortcut features are a dream. You can create custom macros for repetitive processes like normalizing, applying a specific EQ, or exporting in multiple formats.
Bind these scripts to a keyboard shortcut or even a MIDI controller for hands-on control during sessions.
Tips for Speeding Up Mastering in WaveLab
- Use default layouts to standardize screen workspace across all sessions.
- Label plugin chains clearly and name them by genre or purpose.
- Create a mastering checklist to follow every time you process a track.
- Update plugin presets often based on new mastering trends or standards.
Conclusion: Turning Mastering Into a Muscle Memory
Mastering in WaveLab doesn’t have to be complicated or time-consuming. With the right knowledge of its interface, toolset, and workflow accelerators, you can produce high-quality masters in record time. Through repeated use, creating professional-sounding audio becomes second nature.
WaveLab not only puts precision mastering at your fingertips but also gives you the tools to streamline your creative workflow. Dive in, experiment, and soon enough you’ll find yourself mastering audio with speed, precision, and consistency.
